How to Crochet a Simple Gold Bag Using Sensy's Pailette Yarn
Looking for a quick and stylish DIY bag project? Today, I’ll show you how to make a beautiful gold bag using Sensy's Pailette yarn. This sparkly yarn adds an elegant touch while keeping the project simple and beginner-friendly.
Let’s get started!

🧶 What You’ll Need:
-
Sensy's Pailette yarn (gold)
-
Crochet hook suitable for your yarn (check the label)
-
Yarn needle for sewing
-
Scissors
Step 1: Start with a Foundation Chain
Begin by chaining 20 stitches. This will determine the width of your bag, so feel free to adjust based on your desired size.

Step 2: Work Tight Stitches into the Back Loops
In the second row, crochet tight stitches (single crochet) into the back loops only. This technique creates a neat texture and helps shape the fabric nicely.

Step 3: Continue with Tight Stitches
For the top row, chain one to start, then continue working tight stitches into the bottom loops. This ensures a sturdy and uniform edge.

Here’s how my piece looked at this stage: smooth, consistent, and already taking shape.
Step 4: Fold and Sew the Edges
Once you’ve reached your desired height, fold the fabric in half. Using tight stitches, sew the two side edges together. This forms the body of your bag.

Step 5: Make the Chain Strap
For the strap, simply create a long chain using the same yarn, then attach it securely to both top corners of the bag. You can adjust the length depending on whether you want a shoulder bag or a crossbody style.


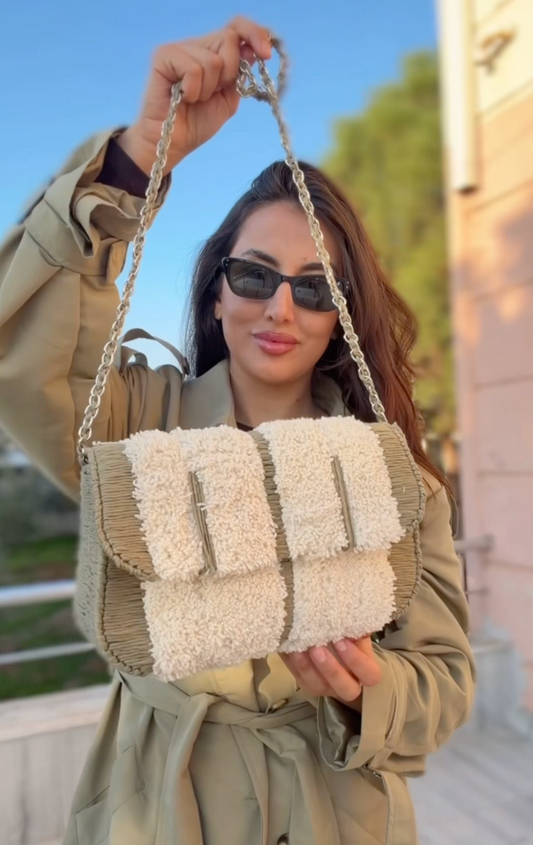
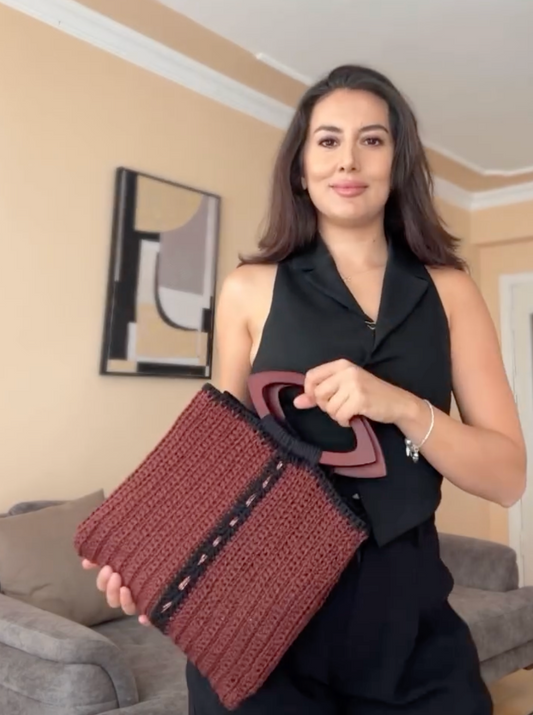
The Final Result ✨
And that’s it! A beautiful, shimmery gold bag made entirely by hand. It’s simple, elegant, and perfect for evening outings or adding a touch of glam to any outfit.

💡 Tips:
-
Try different yarn colors for seasonal versions.
-
Add a lining or button closure for a more polished finish.
-
Experiment with bead embellishments for extra flair.
Tags:
Previous
Create Your Own Elegant Hair Accessory with Just Yarn and a Hook!
Next
How to Crochet a Stylish Bag Using Sensy's Softee Raffia Yarn (Latte Color)