How to Create a Stunning Bag Using Teddy and Macrame Yarns
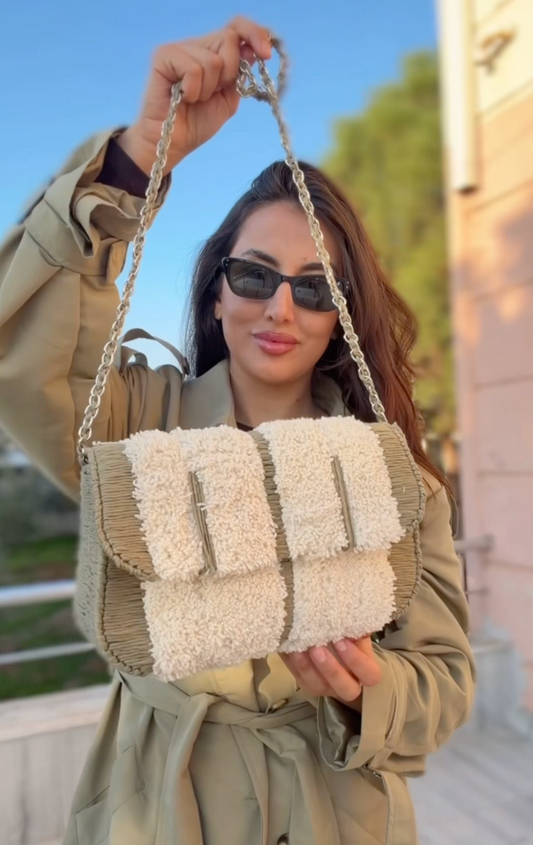
If you're looking to create a unique and stylish handmade bag, this step-by-step guide is just what you need! Using Sensy Teddy Latte yarn for a soft, textured feel and 2mm PP Macrame Black yarn for durability and structure, you'll be able to craft a beautiful bag that’s both functional and fashionable.

Materials You'll Need:
- Sensy Teddy Latte Yarn (for soft and plush texture)
- 2mm PP Macrame Black Yarn (for sturdy structure and contrast)
- Crochet Hook (suitable size for both yarns)
- Needle and Thread (for stitching)
- Scissors
- Bag Closure (magnetic snap or button, based on preference)
Step 1: Filling the Center with Black Yarn
The foundation of your bag starts with the black yarn, which will form the sturdy center of your project. Begin by crocheting the base using the 2mm PP Macrame Black yarn. This will give the bag a solid, structured core. Start by creating a circular base, adjusting the size according to how large or small you want your bag to be. The black yarn provides the necessary foundation that will hold everything together.


Tip: Be mindful of tension as you work. A consistent tension will help create a smooth, even base.
Step 2: Filling the Edges with Teddy Yarn
Once your center is complete, it’s time to focus on the edges of the bag. Switch to the Sensy Teddy Latte yarn, which has a soft, fuzzy texture that will give your bag a cozy and luxurious appearance. Begin crocheting around the perimeter, working in a continuous round to form the edges. The teddy yarn will create a beautiful contrast to the sleek black center.


This is where the bag starts to take shape, so take your time to ensure the edges are even and well-formed. The softness of the teddy yarn will add volume and a rich texture to the overall design.
Step 3: Crafting the Closure with Teddy Yarn
Next, move on to creating the closure of the bag. This is an important section, as it will help secure your items inside. For this, use the Teddy Latte yarn to create a large, solid piece that will form the closure. You can crochet a flap or simply use a large piece of fabric depending on the type of closure you plan to use.

At this stage, be sure to stitch in such a way that it creates a secure and neat finish. This piece should blend seamlessly with the rest of the bag, creating a unified look.
Pro Tip: If you’re using a magnetic snap or button closure, make sure to attach it securely at this step. Position it where you want the flap to meet, ensuring it's well-placed to function properly when the bag is closed.
Step 4: Creating the Flap Line with Teddy Yarn
To further refine the design, it’s time to create the bag's flap. Using the Sensy Teddy Latte yarn, crochet a decorative line along the area that will form the flap. This line effect not only adds a subtle visual detail but also helps define the bag's shape. Be creative with this part—whether it’s a straight line or a more intricate design, this line will act as a focal point for the bag’s closure area.

Work carefully to ensure that the line effect is even and aligned, as this will help give the bag a polished, professional look.
Step 5: Assembling the Bag
Now that all the components are ready, it's time to assemble your bag. Fold the bag in half, bringing the two sides together to form the structure of the bag. Using a needle and thread, stitch the edges together, ensuring a neat and secure finish. You can choose to sew the edges by hand or use a machine, depending on your preference and the materials you are working with.

This is the final step to completing the body of the bag. Take care to keep the stitches even and well-spaced, as this will affect the overall strength and durability of the bag.
The Finished Look
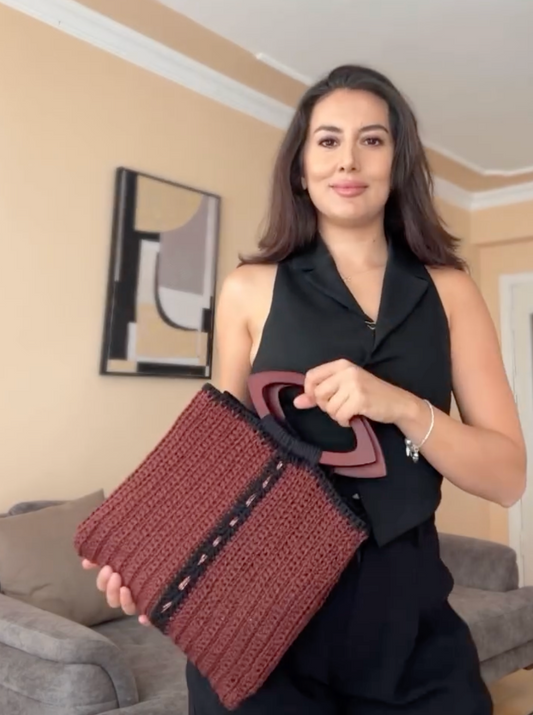
Once your bag is assembled and the closure is in place, you’ll have a beautiful, one-of-a-kind bag that combines the plush softness of the Sensy Teddy Latte yarn with the sleek and durable black 2mm PP Macrame yarn. The final result is a stunning piece that’s both functional and fashionable—perfect for any occasion!

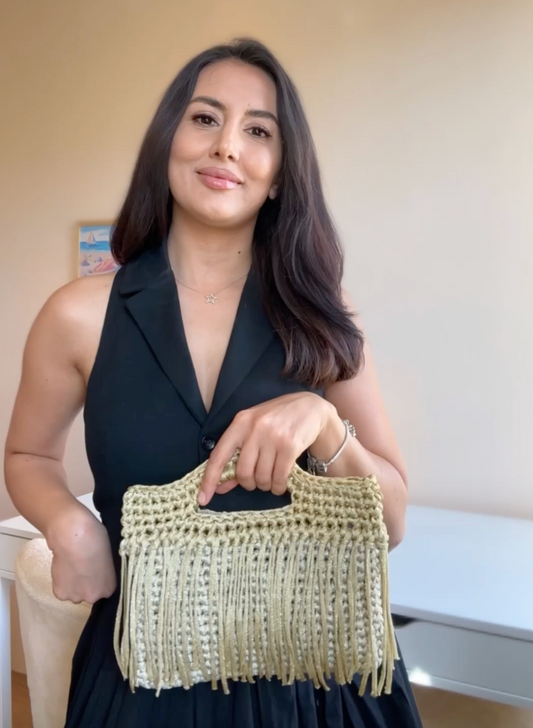
Final Touches: You can also add any additional embellishments, such as beads, tassels, or decorative stitching, to personalize your bag further.
We hope this detailed guide inspires you to start your own project! Whether you're a beginner or an experienced crafter, this bag is a fun and rewarding project that will make a statement wherever you go.
Happy crafting!

